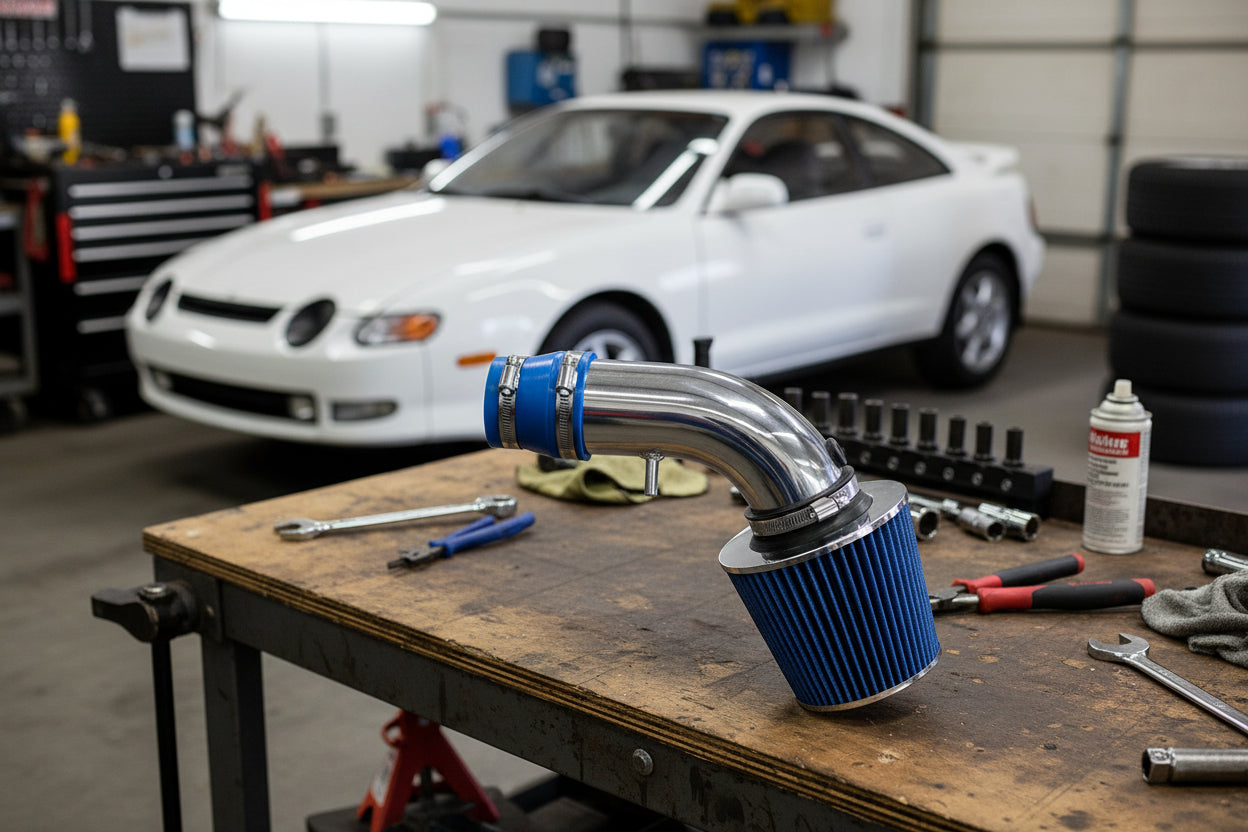
Cold Air Intake for Toyota Celica ST/GT/GTS (1990-1999) 1.6L 1.8L 2.2L Engines
Couldn't load pickup availability
- Guaranteed Fitment
- Performance Tested
- Lifetime Warranty
Want it soon? Order within
Unleash the Spirit: Cold Air Intake for Your Toyota Celica (ST, GT, GTS) – Covering 4A-FE, 7A-FE, and 5S-FE Engines
Who It’s For: Designed specifically for 1990-1999 Toyota Celica owners running the spirited 4A-FE, 7A-FE, or 5S-FE engine families. If you’ve got a Celica ST, GT, or GTS and you’re looking to wake up that throttle response and hear the engine sing, this is for you. We’re talking about getting more out of that classic Japanese sport compact.
The Problem: Let’s be real, the factory intake system on these Celicas, whether it’s the 4A-FE, 7A-FE, or 5S-FE, was designed for quiet, economical cruising, not spirited driving. The stock airbox is often restrictive, made from resonant plastic, and prone to drawing in hot under-hood air. This choked airflow means a sluggish throttle, less power reaching the wheels, and a rather uninspiring engine note. You’re leaving performance on the table, especially when that engine is trying to breathe at higher RPMs.
The Solution: We engineered this cold air intake system to strip away those factory shackles, delivering reliable performance and a noticeable driving improvement. By ditching the cramped stock setup for a high-velocity, free-flowing path, your 4A-FE, 7A-FE, or 5S-FE will pull in a dense, cold air charge from outside the engine bay. This isn’t just about sound; it’s about optimizing combustion, giving you sharper throttle response, more horsepower, and a truly engaging driving experience that the Celica was always meant to deliver.
Why This is the Ultimate Upgrade
- Performance Gains You’ll Feel: Experience a surge in horsepower and torque, up to a 10% increase, thanks to maximized airflow and a colder, denser air charge. You’ll feel that “push” earlier and harder when you lay into the throttle.
- Built to Last, Designed to Perform: Crafted with lightweight yet durable aluminum piping and high-quality silicone couplers, this system is engineered for longevity. It resists heat soak better than plastic and handles engine vibrations without compromise, keeping your intake system robust for years to come.
- Straightforward Installation: This is a direct bolt-on solution designed for enthusiasts. With all necessary mounting hardware, heavy-duty clamps, and a washable performance filter included, you can transform your Celica’s breathing in your garage with standard tools. Just ensure your engine is cool and disconnect that battery terminal!
Technical Specifications
| Fitment | 1990–1999 Toyota Celica ST/GT/GTS |
| Engine Family | Toyota 4A-FE, 7A-FE, 5S-FE |
| Factory Ratings | Typically ranging from 100 HP & 105 lb-ft TQ (1.6L 4A-FE) to 135 HP & 145 lb-ft TQ (2.2L 5S-FE), depending on engine variant. |
Compatibility & OEM Reference
Fits the Following Vehicles:
- 1990–1993 Toyota Celica ST (1.6L 4A-FE Engine)
- 1994–1997 Toyota Celica ST (1.8L 7A-FE Engine; 1994–1999 International)
- 1990–1999 Toyota Celica GT (2.2L 5S-FE Engine)
- 1990–1993 Toyota Celica GTS (2.2L 5S-FE Engine)
The Performance Promise
Buy with confidence. Backed by real automotive experts and fast shipping.
Common Questions
Which 1990-1999 Toyota Celica models and engines does this intake fit?
This cold air intake fits 1990-1993 ST (1.6L 4A-FE), 1994-1997 US ST and 1994-1999 international ST (1.8L 7A-FE), 1990-1999 GT (2.2L 5S-FE), and 1990-1993 GTS (2.2L 5S-FE) models.
Will this fit an All-Trac / GT-Four turbo or a later generation Celica?
This system is built specifically for 1990-1999 naturally aspirated 1.6L 4A-FE, 1.8L 7A-FE, and 2.2L 5S-FE engines in the ST, GT, and GTS trims.
What is included in the kit?
The kit includes lightweight aluminum intake piping, silicone couplers, a washable performance air filter, heavy-duty clamps, and all necessary mounting hardware.
What kind of performance gains can I expect?
By replacing the restrictive plastic factory airbox with free-flowing aluminum piping to draw in a colder, denser air charge, this system delivers sharper throttle response and up to a 10% increase in horsepower and torque.
Do I need special tools to install this intake?
Installation is a direct bolt-on process that can be completed in your garage using standard hand tools. Be sure the engine is cool and disconnect the battery terminal before starting.
Fitment
Fitment
Installation & Tools
Installation & Tools
Warranty
Warranty