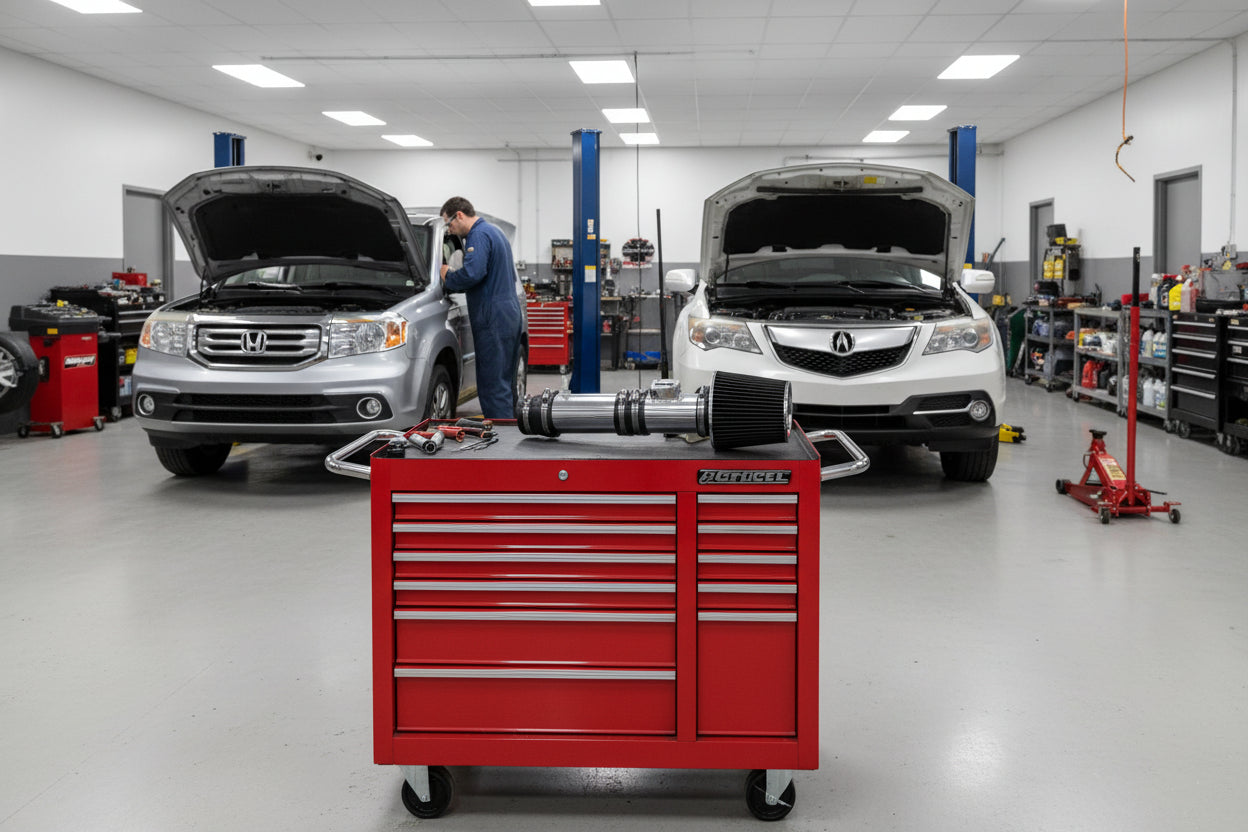
Cold Air Intake for Honda MDX Pilot Ridgeline Odyssey (2009-2013) 3.5L 3.7L Engines
Couldn't load pickup availability
- Guaranteed Fitment
- Performance Tested
- Lifetime Warranty
Want it soon? Order within
Shop safely
Secure checkout with trusted payment providers.
Unleash Your V6: Cold Air Intake for Honda Pilot, Ridgeline, Odyssey & Acura MDX
Wake up your daily hauler. The 3.5L and 3.7L V6 engines in Honda and Acura trucks and vans are legendary for reliability, but the restrictive factory air box holds back their true power. Our Cold Air Intake System replaces that bottleneck with smooth T304 lightweight aluminum piping. The result is a substantial boost in horsepower and torque of up to 10%, sharper throttle response for passing and towing, and a deep, sporty induction tone that makes driving fun again.
Why Upgrade Your Intake?
- Proven Power Gains: Engineered to maximize airflow through the stock manifold system, delivering a performance boost of up to 10% in Horsepower and Torque.
- Enhanced Throttle Response: Improve the efficiency of your drive. By removing air restrictions, your engine reacts faster when you step on the gas—perfect for highway merging or hauling loads.
- Deep, Sporty Sound: Transform the driving experience. This intake amplifies the V6 engine's natural frequency, delivering a deep, throaty tone under hard acceleration.
- Premium Construction: Crafted from Lightweight T304 Aluminum for durability, heat resistance, and a clean, custom look under the hood.
- Cost Effective: Includes a high-performance washable air filter. Under normal driving conditions, it requires cleaning only every 50,000 miles—simply clean and re-oil to save money on replacements.
- Warranty Safe: This upgrade is designed to improve performance without voiding your vehicle's factory warranty.
Vehicle Fitment
This system is custom-engineered for the following V6 applications:
- 2007 – 2013 Honda Odyssey (3.5L V6)
- 2009 – 2013 Honda Pilot (3.5L V6)
- 2009 – 2013 Honda Ridgeline (3.5L V6)
- 2007 – 2013 Acura MDX (3.7L V6)
Quick & Easy Installation
Time Required: Less than 60 Minutes.
This kit serves as a direct replacement for your factory air filter and intake tube. Installation is simple and requires only basic hand tools (screwdrivers and socket wrenches).
Pro Tip: We advise resetting your battery terminal for a few seconds during installation. This allows your engine computer (ECU) to "re-learn" the increased air flow parameters, ensuring you get the maximum performance increase immediately.
Upgrade your V6 performance today.
Fitment
Fitment
|
Make |
Honda |
|---|---|
|
Engine Size |
|
|
Year |
|
Installation & Tools
The Wrench Time
- Estimated Time: 45-60 Minutes
- Difficulty: 3/10 - Straightforward bolt-on, but wrestling the factory J35 intake resonator out of the lower fender cavity takes a bit of patience.
Tools You Will Need
- 10mm socket and ratchet (with a 6-inch extension for clearance)
- 10mm combination wrench (for the battery terminal)
- 8mm socket or 8mm nut driver (for hose clamps)
- Phillips P2 screwdriver (for the factory MAF sensor)
- Needle-nose pliers (for factory spring clamps)
- Panel popper tool (to release wire harness clips without breaking them)
The factory PCV breather hose connecting to the valve cover on these J-series engines is baked by a decade of engine bay heat. It will be rock hard and brittle. Do not bend or yank it, or the plastic fitting will snap. Carefully twist it free using pliers to break the seal first. Additionally, the factory Phillips screws holding the MAF sensor are notoriously soft. Seat your screwdriver firmly before turning to avoid stripping the heads.
Phase 1: Removing the Factory Part
- Disconnect the Battery: Always start by disconnecting the negative battery terminal on your 2009-2013 Honda Odyssey Pilot Ridgeline 3.5L using a 10mm wrench to prevent check engine lights and protect the ECU.
- Unplug the Sensors: Disconnect the Mass Air Flow (MAF) sensor harness. Use your panel popper tool to gently pry the wire loom clips free from the plastic airbox. Don’t rip them out; you will need this slack for the new intake routing.
- Rescue the MAF Sensor: Using a Phillips P2 screwdriver, carefully remove the two screws securing the MAF sensor. Pull the sensor straight out of the housing and set it aside in a clean, safe spot. This sensor is highly sensitive to dirt and impact.
- Disconnect Breather Lines: Use needle-nose pliers to squeeze the factory spring clamp on the PCV breather line and slide it back. Gently twist the hose to release it from the factory intake tube.
- Remove the Factory Airbox: Grab your 8mm socket to loosen the main hose clamp at the throttle body. Next, use a 10mm socket with a 6-inch extension to remove the mounting bolts securing the upper airbox and the bulky lower resonator to the chassis. Pull the entire assembly up and out of the engine bay.
Phase 2: Installing the Cold Air Intake
- Prep the Throttle Body: Wipe the throttle body lip clean of any oil or debris. Slide the new silicone transition coupler over the throttle body and lightly snug the provided worm gear or T-bolt clamp using your 8mm socket.
- Transfer the MAF Sensor: Carefully slide the factory MAF sensor into the new aftermarket aluminum intake tube. Secure it using the provided hardware (typically requiring a 3mm or 4mm hex key). Ensure the sensor is facing the correct direction of airflow (look for the flow arrow on the sensor body).
- Mount the Intake Tube: Slide the new cold air intake tube into the silicone coupler. Route it down toward the fender cavity where the factory resonator used to sit. Align the mounting bracket with the factory chassis point and secure it using a 10mm socket.
- Reconnect the Plumbing: Attach the new PCV breather hose to the valve cover and the port on the new intake tube. Tighten all remaining hose clamps down firmly with your 8mm nut driver. Finally, plug the MAF sensor harness back in until you hear it click securely.
- ECU Relearn Protocol: Reconnect the negative battery terminal with your 10mm wrench. Start the vehicle. Do not touch the gas pedal for 20 seconds. Let the J35 ECU idle and adjust its fuel trims to the increased airflow before blipping the throttle.
Disclaimer: This is a general guide provided for the 2009-2013 Honda Odyssey Pilot Ridgeline 3.5L. Always refer to your factory service manual for exact torque specifications and safety procedures.
Warranty
Warranty
All products are backed by our Limited Lifetime Warranty. We stand by our quality. [See terms]

Shopping Safely
At our Shopify store, we prioritize your safety and security. Here's how we ensure a secure shopping experience:
1. Secure Transactions: We use advanced encryption to protect your personal and payment information, ensuring it is safely transmitted and safeguarded.
2. Trusted Payment Gateways: Our store integrates with trusted payment gateways, ensuring your transactions are processed securely and efficiently.
3. Data Privacy: Your privacy is our top priority. We follow strict data protection policies to keep your personal information confidential and secure.
4. Secure Platform: Shopify provides robust security features and continuous monitoring against vulnerabilities, ensuring a safe shopping environment.
5. Verified Merchants: We are a verified merchant on Shopify, committed to providing authentic and high-quality products.
6. Transparent Policies: Our clear return, refund, and shipping policies provide peace of mind, knowing we stand behind our products.
7. Customer Support: Our dedicated customer support team is ready to assist with any concerns or questions you may have.
Shop confidently at our Shopify store, where your safety and satisfaction are our top priorities.
$104.99