Skip to product information
1 of 4

Cold Air Intake for Honda Civic MT DX LX EX HX (2001-2005) 1.7L Engine


Regular price $99.95
Sale price $99.95 Regular price
Free Shipping within USA.

  • Guaranteed Fitment
  • Performance Tested
  • Lifetime Warranty

Want it soon? Order within

I18n Error: Missing interpolation value "end_date" for "Ends on {{ end_date }}"

More Power, Better Sound: Cold Air Intake for 7th Gen Civic

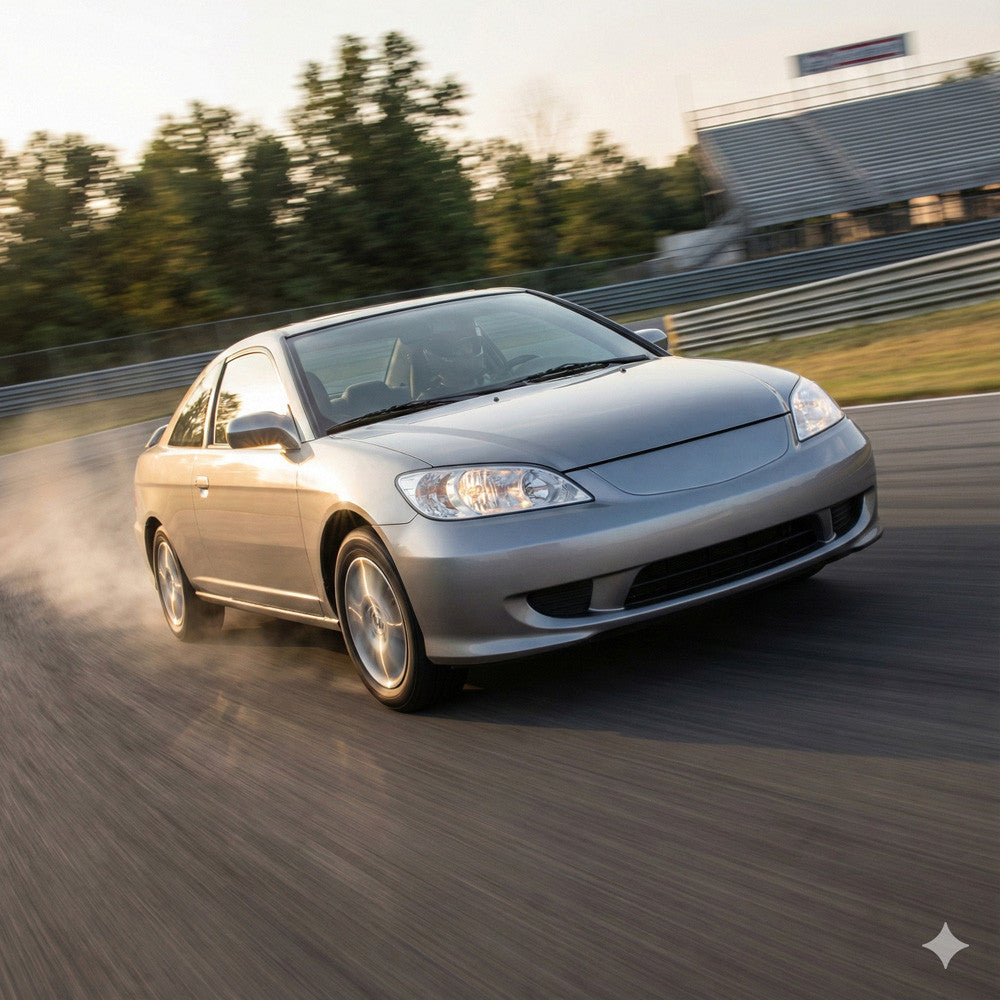
The 7th generation Civic (2001-2005) is known for its reliability and tunability—whether you're daily driving your DX or building up an EX for weekend AutoX runs. This cold air intake system gives your 1.7L engine the breathing room it's been missing, pulling in denser, cooler air for real-world gains you'll feel every time you hit the gas.

Built with lightweight T304 aluminum piping and a high-flow filter, this intake replaces the restrictive factory airbox that Honda designed for quiet commuting—not performance. You'll pick up 8-10% more horsepower and 6-8% better torque, along with sharper throttle response that makes merging and passing noticeably quicker. Plus, you get that aggressive intake note that lets you hear the engine actually working.

The washable, reusable filter means you're not buying replacements every few months like paper OEM filters. Clean it every 50,000 miles under normal conditions and keep running. Installation is straightforward—basic hand tools, under an hour, and all hardware included.

What You Get

  • Real Performance Gains: 8-10% horsepower increase, 6-8% torque improvement
  • T304 Aluminum Construction: Lightweight, heat-resistant piping that won't corrode
  • High-Flow Filtration: Superior airflow without sacrificing engine protection
  • Better Throttle Response: Faster, more linear acceleration from a stop
  • Aggressive Intake Sound: Hear your engine breathe through the OEM manifold
  • Long-Term Savings: Washable filter—clean and reuse instead of constant replacements
  • Quick Install: Complete bolt-on system, typically done in 60 minutes or less

Compatibility

  • 2001–2005 Honda Civic 1.7L (DX / LX / EX / HX / MT)
  • Fits both Automatic and Manual transmissions

Installation Notes

This is a direct replacement for your factory airbox. You'll need basic hand tools—screwdrivers and socket wrenches. After installation, disconnect the battery for 10-15 seconds to let the ECU adapt to the increased airflow. Plenty of install videos online if you want a visual guide.

What's Included: Complete intake system with all mounting hardware, brackets, and clamps needed for installation.


Engine Safety Rating
Difficulty 


Fitment

Make

Honda

Engine Size

  • 1.7L

Year

  • 2001
  • 2002
  • 2003
  • 2004
  • 2005

Installation & Tools

The Wrench Time

  • Estimated Time: 60-90 Minutes
  • Difficulty: 4/10 - The top end is simple, but pulling the factory resonator out of the fender well requires some patience and working blind.

Tools You Will Need

  • 10mm and 12mm sockets with a ratchet and a 6-inch extension
  • #2 Phillips head screwdriver
  • Plastic panel popper tool (for brittle fender liner clips)
  • Pliers (for the factory spring clamps)
  • 8mm nut driver or deep socket (for tightening the new worm-gear clamps)
Mechanic’s Pro Tip (The "Gotcha"):
The 7th Gen (EM2/ES1) Civic D17 engine has a massive factory air resonator box hidden entirely inside the driver’s side front bumper/fender well. Don’t try to rip it out from the top. You MUST use your panel popper to pull back the driver’s side plastic wheel well liner to expose the hidden 10mm bolts. Also, be extremely gentle with the factory IAT (Intake Air Temperature) sensor on the intake tube; the plastic tab is notoriously brittle after two decades of heat cycling.

Phase 1: Removing the Factory Part

  1. Disconnect the Battery: Always start by disconnecting the negative battery terminal on your 2001-2005 Honda Civic 1.7L using a 10mm wrench to prevent check engine lights and clear the ECU memory.
  2. Unplug the IAT Sensor: Locate the Intake Air Temperature sensor plugged into the factory rubber intake arm. Carefully depress the plastic tab and pull the harness connector free. Gently wiggle the sensor itself out of the rubber grommet and set it somewhere safe.
  3. Disconnect the Breather Hose: Use your pliers to squeeze the factory spring clamp on the PCV breather hose attached to the valve cover, then slide the hose off.
  4. Remove the Upper Intake Arm: Use a #2 Phillips screwdriver or 10mm socket to loosen the hose clamp securing the factory rubber tube to the throttle body. Unbolt the 10mm bolts holding the upper airbox housing, and lift the entire upper assembly out of the engine bay.
  5. Extract the Fender Resonator: Turn your steering wheel all the way to the right. Use your panel popper to remove the clips holding the driver’s side wheel well liner. Pull the liner back to expose the giant plastic resonator box. Use your 10mm socket and extension to remove the mounting bolts, then drop the resonator out through the bottom of the vehicle.

Phase 2: Installing the Cold Air Intake

  1. Install the Throttle Body Coupler: Slide the provided silicone straight coupler over your Civic’s throttle body. Slip two new hose clamps over the coupler and lightly tighten the throttle body side using your 8mm nut driver.
  2. Route the New Intake Pipe: Carefully feed the lower half of the new aluminum Cold Air Intake pipe down through the hole in the engine bay into the fender well. Slide the upper section into the silicone coupler at the throttle body.
  3. Transfer the IAT Sensor: Rub a single drop of clean engine oil on the rubber O-ring of your factory IAT sensor. Gently push the sensor into the pre-drilled grommet on the new intake pipe until it seats fully, then plug the factory wiring harness back in.
  4. Attach the Breather Line: Connect the supplied silicone breather hose from the valve cover port to the welded nipple on your new intake pipe. Secure it using your pliers and the factory spring clamp, or the provided zip-ties.
  5. Mount the Air Filter: Down in the fender well, slide the high-flow cone filter onto the bottom of the intake pipe. Ensure it has clearance from the tire and fender liner, then fully tighten the clamp using your 8mm nut driver. Re-secure your fender liner with the plastic clips.
  6. The ECU Idle Learn (Crucial): Reconnect your negative battery terminal. Turn the key to start the engine. Do not touch the gas pedal for at least 20 seconds. Let the 1.7L ECU idle, learn the new increased airflow parameters, and adjust the fuel trims naturally.

Disclaimer: This is a general guide provided for the 2001-2005 Honda Civic 1.7L. Always refer to your factory service manual for exact torque specifications and safety procedures.

Warranty

All products are backed by our Limited Lifetime Warranty. We stand by our quality. [See terms]

Cold Air Intake for Honda Civic MT DX LX EX HX (2001-2005) 1.7L Engine

$99.95