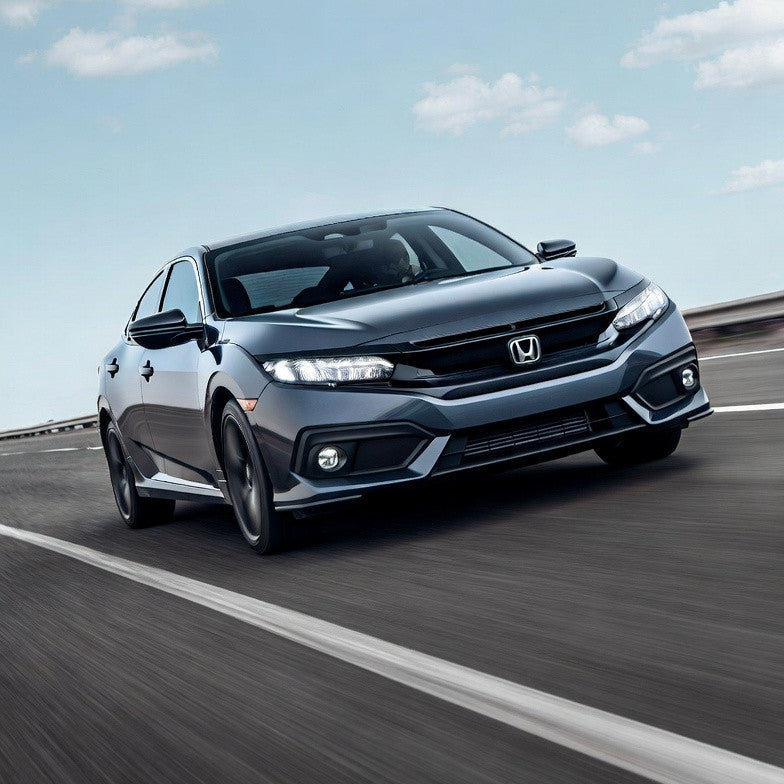
Cold Air Intake for Civic DX LX EX 1.8L (2012-2015) 1.8L Engine - Blue
Couldn't load pickup availability
- Guaranteed Fitment
- Performance Tested
- Lifetime Warranty
Want it soon? Order within
Shop safely
Secure checkout with trusted payment providers.
Upgrade Your Civic's Breathing – More Power, Sharper Response
The ninth-generation Honda Civic earned its reputation for reliability and fuel economy, but the factory intake system prioritizes quiet operation over performance. If you've noticed sluggish throttle response during highway merges or felt your 1.8L R18 engine working harder than it should, this cold air intake system addresses those limitations directly.
This performance intake replaces the restrictive factory airbox with a streamlined T-306 aluminum tube that pulls cooler, denser air directly into your engine. The result is immediate throttle response, noticeable gains in horsepower and torque, and a deeper engine note that reminds you there's a capable four-cylinder under the hood. Whether you're commuting through stop-and-go traffic or enjoying backroad drives, you'll feel the difference in how your Civic responds.
Performance You'll Notice
- Increased Power Output: Delivers measurable horsepower and torque gains across the RPM range
- Improved Fuel Economy: Optimizes air-to-fuel mixture for more efficient combustion
- Sharper Throttle Response: Eliminates intake lag for more direct acceleration
- Enhanced Engine Sound: Adds a deeper, more aggressive intake tone
- Reusable Filter: Washable high-flow filter reduces long-term maintenance costs
- Durable Construction: T-306 aluminum piping resists heat and corrosion
Complete Installation Kit
This system includes precision-engineered T-306 aluminum intake piping, a high-flow washable air filter, silicone couplers, stainless steel clamps, and all necessary mounting hardware. Everything you need for a secure, leak-free installation is in the box.
Fitment Information
Compatible with: 2012–2015 Honda Civic with 1.8L L4 engine (automatic and manual transmissions)
Installation Note
Before beginning installation, disconnect the negative battery terminal and wait at least one minute after completing the install before reconnecting. This allows your ECU to properly calibrate to the increased airflow. Always work on a completely cooled engine.
Fitment
Fitment
|
Make |
Honda |
|---|---|
|
Engine Size |
|
|
Year |
|
Installation & Tools
The Wrench Time for Your 2012-2015 Honda Civic 1.8L
- Estimated Time: 45-60 Minutes
- Difficulty: 3/10 - Basic hand tools, but removing the factory R18 resonator from the fender requires some patience and maneuvering.
Tools You Will Need
- 10mm socket and ratchet with a 6-inch to 10-inch extension
- 8mm socket (or standard flathead screwdriver for hose clamps)
- Panel popper tool (to safely remove plastic fender clips)
- #2 Phillips screwdriver (specifically for MAF sensor screws)
- Pliers (for sliding factory spring clamps)
The 9th Gen Civic community agrees on one major headache: the factory Mass Air Flow (MAF) sensor screws strip incredibly easily. Do not use a worn-out screwdriver or a power drill. Press firmly with a fresh #2 Phillips screwdriver to crack them loose. Also, never touch the MAF sensor bulb with your bare hands. The oils from your skin will ruin it, causing immediate Check Engine Lights and rough idles on your R18.
Phase 1: Removing the Factory 2012-2015 Honda Civic 1.8L Intake
- Disconnect the Battery: Always start by disconnecting the negative battery terminal using a 10mm wrench to prevent check engine lights and protect the ECU.
- Remove the MAF Sensor: Unplug the wiring harness from the MAF sensor. Carefully extract the two screws using a #2 Phillips screwdriver. Pull the sensor straight up, place it in a clean Ziploc bag, and set it aside safely.
- Loosen the Throttle Body: Locate the hose clamp securing the factory rubber intake hose to the throttle body. Loosen it using an 8mm socket. Next, use pliers to squeeze the spring clamp on the PCV breather hose and pull the hose free from the intake tube.
- Extract the Upper Airbox: Remove the factory bolts holding the upper airbox housing in place using a 10mm socket. Lift the upper airbox and rubber hose out of the engine bay as one piece.
- The Fender Resonator Delete: To remove the hidden lower resonator box, turn your steering wheel full lock to the right. Use your panel popper tool to pull the plastic clips holding the driver’s side fender liner. Peel the liner back, grab your 10mm socket on a long extension, and remove the hidden mounting bolts. Wiggle the bulky resonator box down and out through the wheel well.
Phase 2: Installing the Blue Cold Air Intake for Civic DX LX EX 1.8L
- Mount the Silicone Coupler: Slide the provided silicone reducer coupler onto the factory throttle body. Slip on the hose clamps and tighten the throttle body side down snugly using your 8mm socket.
- Route the New Intake Pipe: Carefully feed the new blue cold air intake pipe down into the engine bay, routing the lower end into the now-empty fender cavity. Line up the pipe’s welded bracket with the factory chassis mounting point and secure it using a 10mm socket.
- Transfer the MAF Sensor: Take your delicate factory MAF sensor and insert it into the precision-machined housing on the new blue pipe. Secure it using the supplied aftermarket hardware (typically requiring a #2 Phillips screwdriver or small Allen wrench). Reconnect the factory wiring harness until you hear it click.
- Connect the PCV Line: Push the factory PCV breather hose onto the welded nipple on the new intake pipe. Secure it by sliding the original spring clamp back into place with your pliers.
- Install the Filter and Reassemble: Down in the fender well, slide the new cone filter onto the end of the intake pipe. Tighten the filter clamp securely with an 8mm socket. Push the fender liner back into place and secure it by popping the clips back in with your thumb. Reconnect the negative battery terminal using your 10mm wrench.
- The Idle Relearn (Critical Step): Start the vehicle. Do not touch the gas pedal for at least 20 seconds. The 9th Gen Civic ECU needs this time to calibrate and adjust to the massive increase in airflow. Let the engine idle for 10 minutes to reach operating temperature before going for a test drive.
Disclaimer: This is a general guide provided for the 2012-2015 Honda Civic 1.8L. Always refer to your factory service manual for exact torque specifications and safety procedures.
Warranty
Warranty
All products are backed by our Limited Lifetime Warranty. We stand by our quality. [See terms]

Shopping Safely
At our Shopify store, we prioritize your safety and security. Here's how we ensure a secure shopping experience:
1. Secure Transactions: We use advanced encryption to protect your personal and payment information, ensuring it is safely transmitted and safeguarded.
2. Trusted Payment Gateways: Our store integrates with trusted payment gateways, ensuring your transactions are processed securely and efficiently.
3. Data Privacy: Your privacy is our top priority. We follow strict data protection policies to keep your personal information confidential and secure.
4. Secure Platform: Shopify provides robust security features and continuous monitoring against vulnerabilities, ensuring a safe shopping environment.
5. Verified Merchants: We are a verified merchant on Shopify, committed to providing authentic and high-quality products.
6. Transparent Policies: Our clear return, refund, and shipping policies provide peace of mind, knowing we stand behind our products.
7. Customer Support: Our dedicated customer support team is ready to assist with any concerns or questions you may have.
Shop confidently at our Shopify store, where your safety and satisfaction are our top priorities.
$109.95