Skip to product information
1 of 3

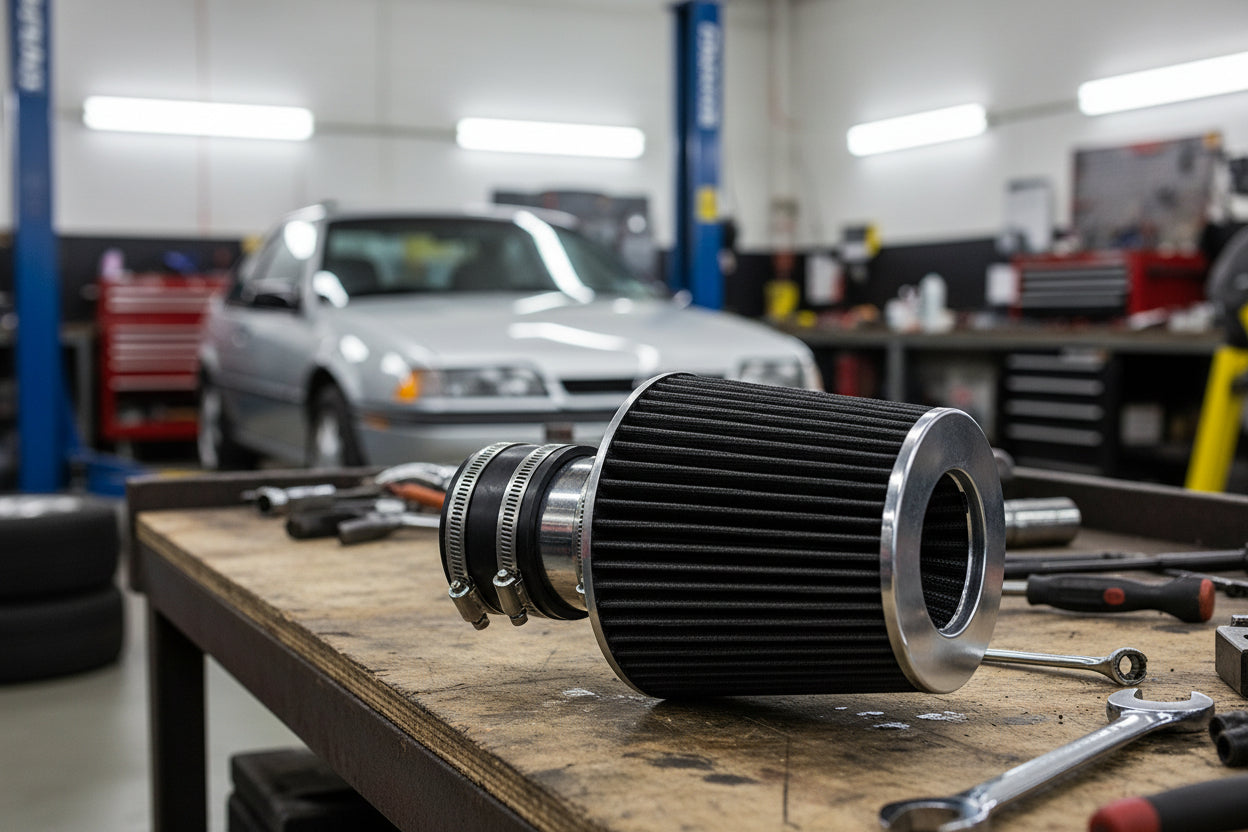
Cold Air Intake for Chevy Beretta (1994-1996) 3.1L V6 Engine


Regular price $74.99
Sale price $74.99 Regular price
Free Shipping within USA.

  • Guaranteed Fitment
  • Performance Tested
  • Lifetime Warranty

Want it soon? Order within

I18n Error: Missing interpolation value "end_date" for "Ends on {{ end_date }}"

Ignite Your GM 3.1L 60-Degree V6: Performance Cold Air Intake for 1994-1996 Chevy Beretta

Who It’s For: Designed specifically for 1994-1996 Chevrolet Beretta owners running the legendary GM 3.1L 60-Degree V6 engine. If you’re still cruising in a Beretta, you know it’s a rare bird, and you appreciate its unique character. This intake is for those who want to unlock a little more of that character, whether it’s for spirited daily driving or just making those highway merges a bit more confident.

The Problem: Let’s be real, the factory intake on the GM 3.1L 60-Degree V6 in your Beretta was built for quiet comfort, not outright performance. That restrictive plastic airbox and convoluted tubing act like a choke collar on your engine. It draws in warm engine bay air, which is less dense and robs your engine of power, especially when you stomp on the pedal. The stock setup just doesn’t let the 3.1L V6 breathe properly, leaving horsepower and torque on the table.

The Solution: We engineered this cold air intake system to correct those factory design flaws, delivering reliable performance and a noticeable kick in the pants for your GM 3.1L V6. By relocating the air filter to a cooler zone and utilizing smooth, T304 lightweight aluminum piping, this system maximizes airflow and delivers a denser, oxygen-rich charge directly to your engine. The result? Better combustion, improved throttle response, and a more aggressive growl that lets you know your Beretta means business.


Why This is the Ultimate Upgrade

  • Performance Gains You’ll Feel: Experience up to a 10% increase in horsepower and torque across the entire RPM range. This isn’t just a peak number; it’s usable power you’ll notice every time you accelerate, making your Beretta feel more lively and responsive than ever before.
  • Built to Last, Engineered to Perform: Crafted from premium T304 lightweight aluminum, this induction tubing not only looks great but also helps dissipate heat more effectively than plastic, keeping your intake charge cooler. The high-flow, reusable filter is designed to block harmful debris while ensuring maximum airflow for the demands of your GM 3.1L V6.
  • Bolt-On Power & Sound: This kit is a direct fit, designed for a straightforward installation with all necessary couplers, clamps, and hardware included. Plus, you’ll love the enhanced, more aggressive induction sound under heavy acceleration – giving your Beretta that mechanical note it deserves. Remember to disconnect your battery’s negative terminal for at least a minute after install; this allows your engine’s computer to “relearn” the new airflow parameters for optimal performance.

Technical Specifications

Fitment 1994-1996 Chevrolet Beretta
Engine Family GM 3.1L 60-Degree V6 (L82/L32 SFI)
Factory Ratings ~160 HP & 185 lb-ft Torque
Part Numbers

Compatibility & OEM Reference

Fits the Following Vehicles:

  • 1994 Chevrolet Beretta 3.1L V6 (Automatic & Manual Transmissions)
  • 1995 Chevrolet Beretta 3.1L V6 (Automatic & Manual Transmissions)
  • 1996 Chevrolet Beretta 3.1L V6 (Automatic & Manual Transmissions)

Interchange Part Numbers:


The Performance Promise

Buy with confidence. Backed by real automotive experts and fast shipping.


Engine Safety Rating
Difficulty 


Fitment

Make

Chevrolet

Engine Size

  • 3.1L

Year

  • 1994
  • 1995
  • 1996

Installation & Tools

The Wrench Time

  • Estimated Time: 45-60 Minutes
  • Difficulty: 3/10 - Mechanically straightforward, but you are dealing with 30-year-old L-body plastics that require a patient hand.

Tools You Will Need

  • 10mm deep socket and ratchet (for battery terminal and factory airbox bolts)
  • 8mm nut driver or socket (for worm-gear hose clamps)
  • Flathead screwdriver (for prying stubborn rubber and releasing harness clips)
  • Panel popper / trim tool (to cleanly detach the wire harness routed along the factory intake)
  • Silicone spray or a drop of dish soap (to help seat sensors and silicone couplers)
Mechanic’s Pro Tip (The "Gotcha"):
In the L-body community, the 3100 SFI engine is notorious for its brittle factory corrugated intake bellow. Engine rock from worn "dogbone" mounts tears this accordion boot, causing massive unmetered air leaks and erratic idling. Upgrading to a solid pipe intake permanently fixes this forum headache. However, the factory Intake Air Temperature (IAT) sensor is shoved directly into this brittle rubber. DO NOT yank the IAT sensor by its wires, or you will rip the pins right out of the connector. Twist the plastic sensor body gently while pulling to break it free from the petrified rubber grommet.

Phase 1: Removing the Factory Part from your 1994-1996 Chevrolet Beretta 3.1L

  1. Disconnect the Battery: Always start by disconnecting the negative battery terminal using a 10mm wrench to prevent check engine lights and clear the ECU memory.
  2. Unplug the IAT Sensor: Locate the Intake Air Temperature sensor plugged into the side of the factory intake tube. Carefully lift the locking tab with a flathead screwdriver and pull the harness connector off.
  3. Loosen the Factory Bellows: Using your 8mm nut driver, loosen the hose clamp securing the intake boot to the 3100 throttle body, and the clamp securing it to the airbox lid. Pry the rubber off the throttle body gently.
  4. Extract the IAT Sensor: With the tube loose, gently twist and pull the factory IAT sensor out of the rubber boot. Set it somewhere safe (like your cowl tray) so it doesn’t get crushed.
  5. Remove the Airbox Assembly: Unclip any wiring harnesses attached to the airbox using your panel popper. Grab your 10mm socket and an extension to remove the bolts anchoring the lower airbox tray to the core support/fender well area, then lift the entire clunky assembly out of the engine bay.

Phase 2: Installing the Cold Air Intake

  1. Prep the Throttle Body: Wipe the throttle body lip clean with a rag. Slide the new silicone reducer coupler onto the throttle body and slide two hose clamps over it. Tighten the throttle body side down firmly with your 8mm nut driver, but leave the pipe side loose.
  2. Transfer the IAT Sensor: Find the pre-drilled hole/grommet on your new intake pipe. Apply a tiny drop of dish soap or silicone spray to the grommet. Push your factory IAT sensor in carefully. Never force it; the plastic probe is fragile.
  3. Route the New Intake Pipe: Carefully snake the new aluminum pipe down into the factory L-body fender cavity to draw cooler air away from the hot exhaust crossover pipe. Slide the top end of the pipe into the silicone coupler at the throttle body.
  4. Mount the Filter and Secure: Slide the high-flow cone filter onto the end of the intake pipe and tighten the clamp with your 8mm socket. If your kit includes a support bracket, bolt it to the factory W-code W-body/L-body mounting point using your 10mm socket to prevent vibration. Tighten all remaining hose clamps.
  5. Reconnect and Relearn: Plug the IAT sensor wire harness back into the sensor until it clicks. Reconnect your negative battery terminal using your 10mm wrench. Start the vehicle. Do not touch the gas pedal for at least 20 seconds. Let the ECU relearn its baseline idle with the new, denser airflow.

Disclaimer: This is a general guide provided for the 1994-1996 Chevrolet Beretta 3.1L. Always refer to your factory service manual for exact torque specifications and safety procedures.

Warranty

All products are backed by our Limited Lifetime Warranty. We stand by our quality. [See terms]

Cold Air Intake for Chevy Beretta (1994-1996) 3.1L V6 Engine

$74.99