Saltar al contenido del producto
1 de 3

Admisión de aire frío para Acura CL Modelo Base (1997-1999) Motor 3.0L


Precio regular $89.99
Precio de oferta $89.99 Precio regular
Envío calculado al finalizar la compra.

  • Pago totalmente seguro
  • Con la confianza de miles de personas
  • Calificado y revisado

¿Lo quieres pronto ? Haz tu pedido antes de

I18n Error: Missing interpolation value "end_date" for "Termina el {{ end_date }}"

Libera la potencia del V6: Admisión de aire frío para Honda Accord y Acura CL

Tu V6 fue diseñado para rendir al máximo. Déjalo respirar. Los motores V6 de 2.7L y 3.0L del Honda Accord y el Acura CL son legendarios por su suavidad, pero la restrictiva caja de aire de fábrica limita su verdadero potencial. Nuestro sistema de admisión de aire frío de primera línea reemplaza ese cuello de botella con tuberías ligeras de aluminio T304. El resultado es un aumento sustancial de la potencia y el par motor de hasta un 10% , una respuesta del acelerador más precisa y un sonido de motor profundo y agresivo que transforma tu viaje diario en una experiencia deportiva.


¿Por qué mejorar su consumo?

  • Aumento masivo de potencia: diseñado para brindar un aumento de rendimiento de hasta un 10 % en caballos de fuerza y ​​torque al maximizar el flujo de aire a través del colector estándar.
  • Respuesta instantánea del acelerador: Elimina la lentitud. Al suavizar el paso del aire, esta admisión garantiza que el motor reaccione inmediatamente al acelerar para una conducción más eficiente.
  • Sonido profundo y deportivo: Olvídate del silencio. Este kit amplifica el rugido de la inducción del V6, creando un sonido profundo y gutural que suena increíble al acelerar con fuerza.
  • Construcción premium: fabricado con aluminio T304 liviano para una resistencia superior al calor, durabilidad y una apariencia limpia y personalizada debajo del capó.
  • Rentable: Incluye un filtro de aire lavable de alto rendimiento. En condiciones normales de conducción, solo requiere limpieza cada 80.000 km, lo que le permite ahorrar dinero en filtros desechables.
  • Garantía segura: esta actualización está diseñada para mejorar el rendimiento sin anular la garantía de fábrica de su vehículo.

Adaptación del vehículo

Este sistema está diseñado a medida para las siguientes aplicaciones V6 (se adapta tanto a transmisiones automáticas como manuales):

  • Honda Accord 1995-1997 (LX/EX/EX-R)
    Motor: 2.7L V6
  • 1998-2002 Honda Accord (LX/EX)
    Motor: 3.0L V6
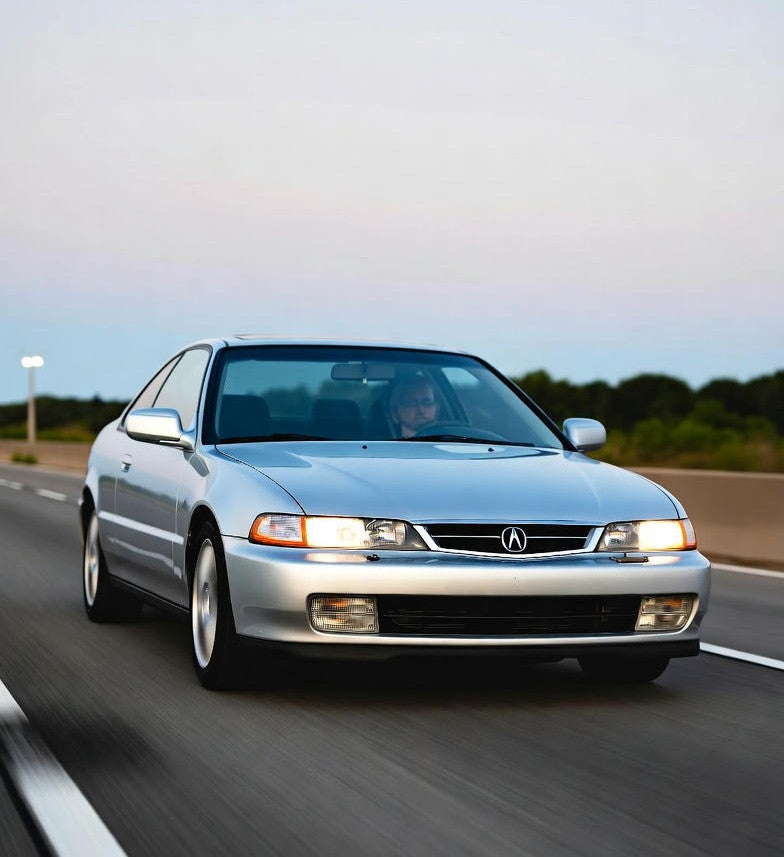
  • 1997 – 1999 Acura CL (Coupé básico de 2 puertas)
    Motor: 3.0L V6

Instalación rápida y sencilla

Tiempo requerido: menos de 60 minutos.
Este kit reemplaza directamente el filtro de aire y el tubo de admisión de fábrica. La instalación es sencilla y solo requiere herramientas manuales básicas (destornilladores y llaves de tubo).

Consejo profesional: Recomendamos reiniciar el terminal de la batería durante unos segundos durante la instalación. Esto permite que la computadora del motor (ECU) "reaprendizaje" los parámetros de aumento del flujo de aire, garantizando así el máximo aumento de rendimiento de inmediato.

Mejore el rendimiento y el sonido de su V6 hoy.


Clasificación de seguridad del motor
Dificultad


Mueble

Hacer

Acura

Tamaño del motor

  • 3.0L

Año

  • 1997
  • 1998
  • 1999

Instalación

The Wrench Time

  • Estimated Time: 60-90 Minutes
  • Difficulty: 4/10 - Standard J30 wrenching, but removing the factory fender resonator requires peeling back the splash guard and battling old plastic clips.

Tools You Will Need

  • 10mm and 12mm sockets (3/8" drive with a 6-inch extension)
  • 8mm nut driver or flathead screwdriver (for hose clamps)
  • Panel popper tool (critical for Honda/Acura push-clips)
  • Needle-nose pliers (for factory spring clamps)
  • Silicone spray or soapy water (for sensor transfer)
Mechanic’s Pro Tip (The "Gotcha"):
The 1G CL community universally hates the brittle plastics on this chassis. The rubber grommet holding the IAT (Intake Air Temperature) sensor into the factory J30 tube will be baked hard from decades of heat cycles. If you yank it, you will snap the fragile plastic sensor probe off in the tube. Hit the base with silicone spray and gently twist it out. Same goes for the fender liner clips—spray them before prying so they don’t shatter.

Phase 1: Removing the Factory Part from your 1997-1999 Acura CL 3.0L

  1. Disconnect the Battery: Always start by disconnecting the negative battery terminal using a 10mm wrench to prevent check engine lights.
  2. Disconnect Sensors & Lines: Locate the IAT sensor on the factory rubber intake hose. Depress the tab and unplug the harness. Next, use needle-nose pliers to compress the spring clamp on the PCV breather hose and pull the hose off the intake tube.
  3. Remove the Airbox & Tube: Loosen the throttle body clamp using an 8mm nut driver. Unbolt the upper and lower factory airbox housings using your 10mm socket. Pull the entire assembly out of the engine bay.
  4. Delete the Fender Resonator: Turn your steering wheel all the way to the right. Use your panel popper to carefully remove the front half of the driver-side inner fender liner. Grab your 10mm socket on a long extension and unbolt the factory plastic resonator box hidden inside the bumper cavity, then drop it out completely.

Phase 2: Installing the Cold Air Intake for Acura CL Base Model (1997-1999) 3.0L Engine

  1. Prep the Aftermarket Pipe: Insert the provided rubber grommet into the pre-drilled hole on the new intake pipe. Lubricate the inside of the grommet with a drop of soapy water or silicone spray, then carefully push your factory IAT sensor into place. Do not force it.
  2. Mount the Couplers: Slide the silicone reducer coupler onto the J-series throttle body. Secure the throttle body side with a T-bolt or worm gear clamp and tighten it down using your 8mm nut driver.
  3. Route the Cold Air Pipe: Carefully feed the lower section of the intake piping down through the factory hole into the fender well. Slide the upper end into the throttle body coupler. If the kit includes a vibration isolation mount, secure it to the factory chassis bracket using a 10mm wrench. Tighten all remaining pipe clamps.
  4. Install Filter & Vacuum Lines: From inside the wheel well, slide the new pod filter onto the end of the intake pipe and tighten the clamp with a flathead screwdriver. Reattach your inner fender liner clips. Back up top, route the supplied silicone breather hose from the engine valve cover to the nipple on the new intake tube. Reconnect the IAT sensor harness.
  5. ECU Relearn Procedure: Reconnect your negative battery terminal. Turn the key and start the engine. Do not touch the gas pedal for at least 20 seconds. Allow the J30 ECU to properly relearn its base idle targets with the increased, colder airflow. Check for any whistling or vacuum leaks around the couplers.

Disclaimer: This is a general guide provided for the 1997-1999 Acura CL 3.0L. Always refer to your factory service manual for exact torque specifications and safety procedures.

Garantía

Todos los productos están respaldados por nuestra garantía limitada de por vida. Confiamos en nuestra calidad. [Ver términos y condiciones]

Admisión de aire frío para Acura CL Modelo Base (1997-1999) Motor 3.0L

$89.99