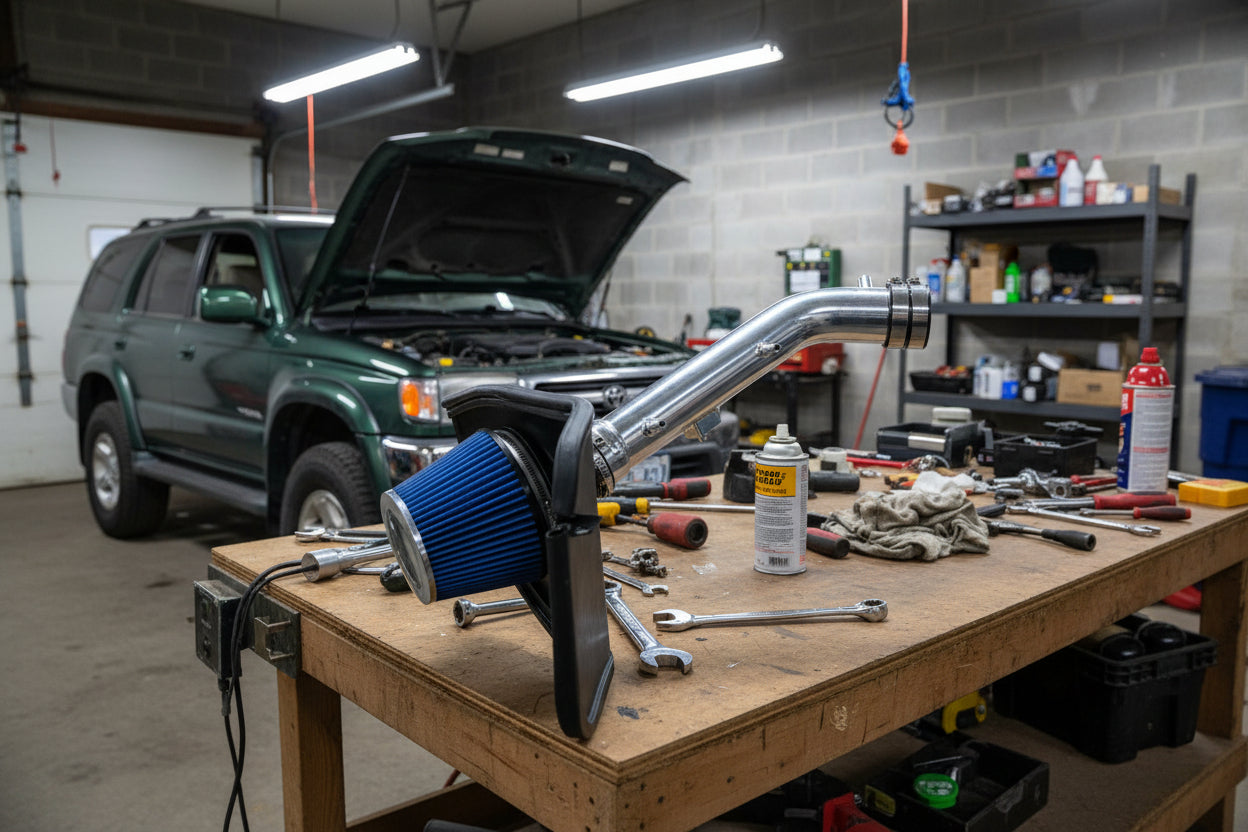
Cold Air Intake for Toyota 4Runner (1999-2004) 3.4L V6 Engine - Blue
Couldn't load pickup availability
- Guaranteed Fitment
- Performance Tested
- Lifetime Warranty
Want it soon? Order within
Tired of your trusted Toyota 4Runner feeling sluggish off the line or gasping for air on inclines? Unlock the true potential of your 5VZ-FE engine and experience a noticeable surge in power and responsiveness with a simple, impactful upgrade.
Performance Cold Air Intake for Toyota 4Runner (1999-2004) 3.4L V6 (5VZ-FE) - Blue
The stock air intake system on your 1999-2004 Toyota 4Runner’s 3.4L V6 (5VZ-FE) is notorious for its restrictive design. The factory air box and convoluted intake tubing create significant airflow turbulence and restrict the volume of cold, dense air reaching your engine, hindering both horsepower and torque, especially under load or at higher RPMs.
This high-velocity Cold Air Intake system is specifically engineered to replace that bottleneck. By providing a streamlined, wider intake path and incorporating an integrated heat barrier, it ensures your engine draws in a larger volume of oxygen-rich, cooler air. This optimized airflow translates directly into a more efficient combustion cycle, delivering crisper throttle response and significant gains in power across the entire RPM range, whether you’re tackling rugged trails or cruising the highway.
Why You Need This Upgrade
- Enhanced Power Output: Boost your 4Runner’s horsepower and torque by up to 10% by optimizing the air-to-fuel ratio with a consistent supply of cool, dense air, providing a noticeable power surge for towing, hauling, and off-road driving.
- Immediate Throttle Response: Experience a more lively and direct connection to your engine. This system reduces intake lag and eliminates air turbulence, ensuring power is delivered the moment you press the accelerator.
- Integrated Heat Barrier: Designed to isolate the air filter from radiant engine bay heat, this critical feature ensures your engine consistently receives cool, oxygen-rich air for maximum performance, especially during demanding conditions.
Technical Specifications
| Fitment | 1999-2004 Toyota 4Runner (3.4L V6 Engine) |
| Factory Stats | Stock: 183 HP / 217 lb-ft |
| Installation | Easy / 1-2 Hours (Basic Hand Tools) |
Replaces These OEM Applications
Compatible Vehicles:
- 1999 Toyota 4Runner (3.4L V6 Engine)
- 2000 Toyota 4Runner (3.4L V6 Engine)
- 2001 Toyota 4Runner (3.4L V6 Engine)
- 2002 Toyota 4Runner (3.4L V6 Engine)
- 2003 Toyota 4Runner (3.4L V6 Engine)
- 2004 Toyota 4Runner (3.4L V6 Engine)
Upgrade Your Toyota 4Runner Today
Don’t let a restrictive stock intake hold back your capable 5VZ-FE engine. Unlock the full potential of your 3rd Generation Toyota 4Runner with this performance Cold Air Intake. Shop with confidence knowing that PerformanceChipTuning.com delivers the best intake parts with fast shipping and expert support.
Fitment
Fitment
Installation & Tools
Installation & Tools
Warranty
Warranty